Getting Started
This guide will walk you through installing Cairn and creating your first issue.
Prerequisites
Before you start, make sure you have:
- Claude Code CLI installed
- Run
claudein a terminal to verify installation
- Run
- Git installed on your system
- Run
git --versionto verify
- Run
- GitHub account (for PR features)
- You'll need this to set up the GitHub App integration
Installation
Download Cairn for your platform from GitHub Releases.
macOS: Download the .dmg file, open it, and drag Cairn to your Applications folder.
Windows: Download the .exe installer and run it.
Linux: Download the .AppImage or .deb file for your distribution.
First Launch
When you first launch Cairn, you'll see the onboarding screen:
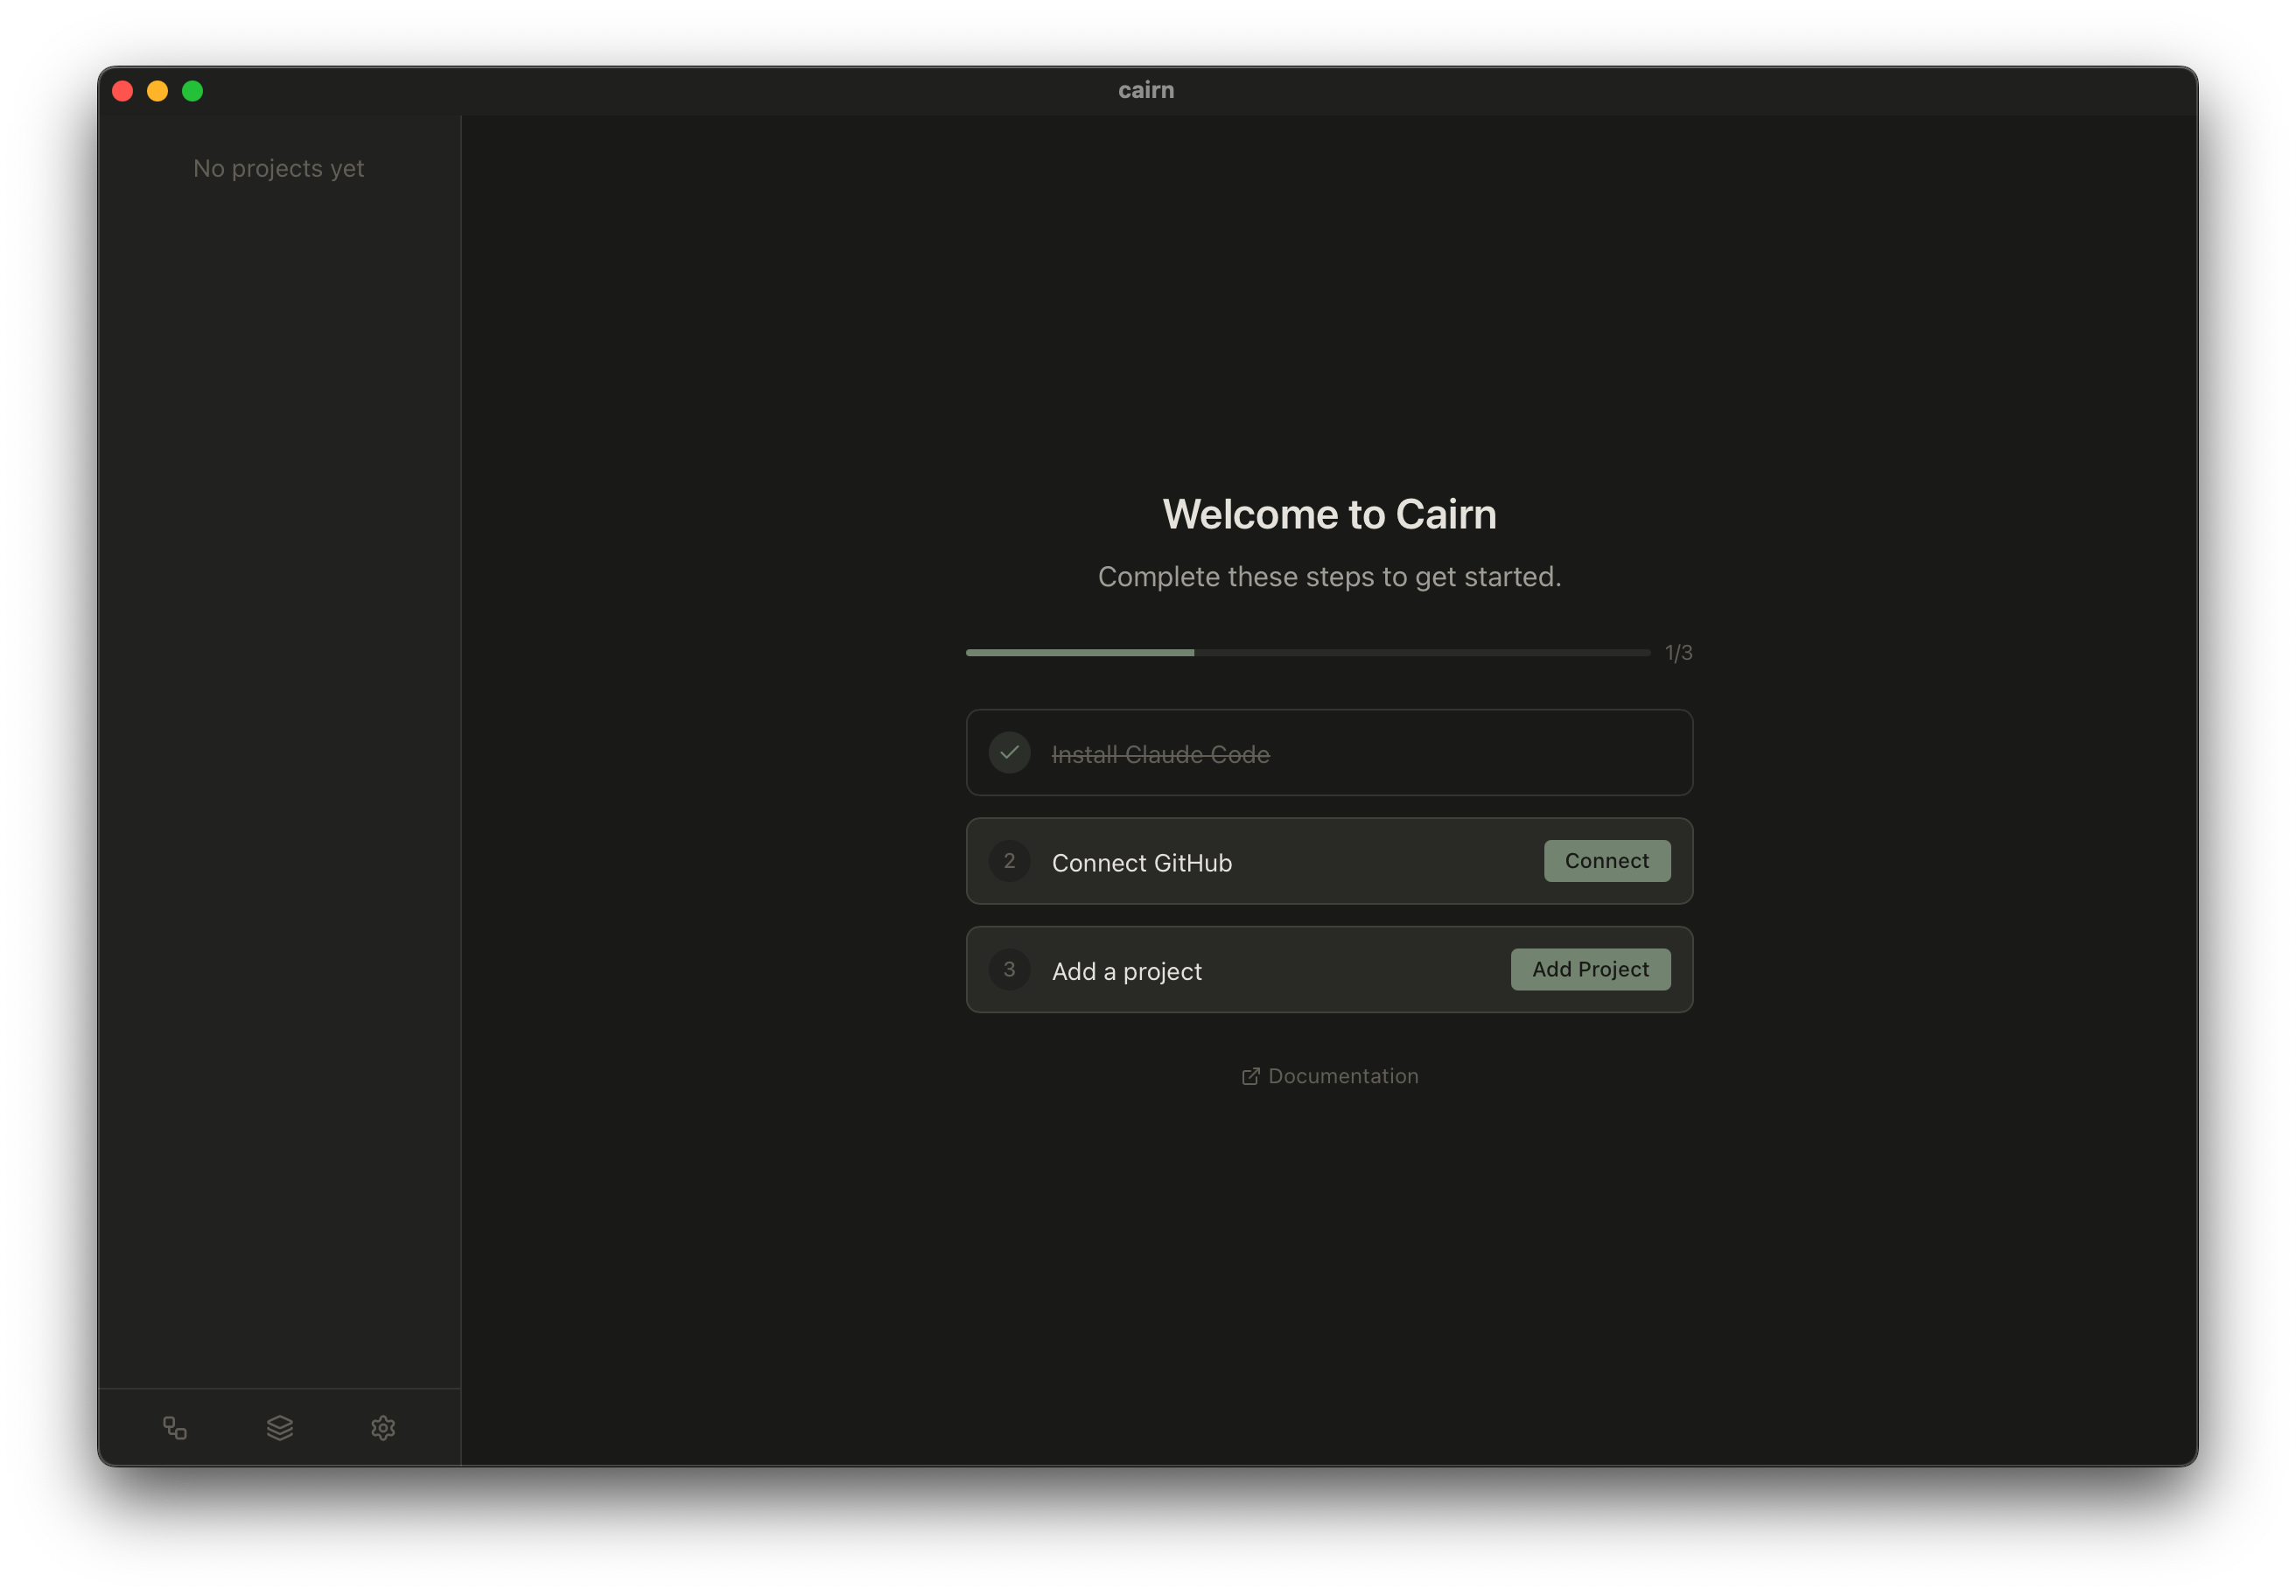
The onboarding checklist guides you through the essential setup steps.
GitHub App Setup
Cairn uses a GitHub App to create pull requests and track their status. Details
Create the GitHub App
Click Create GitHub App in the onboarding checklist. This will open GitHub's app creation page.
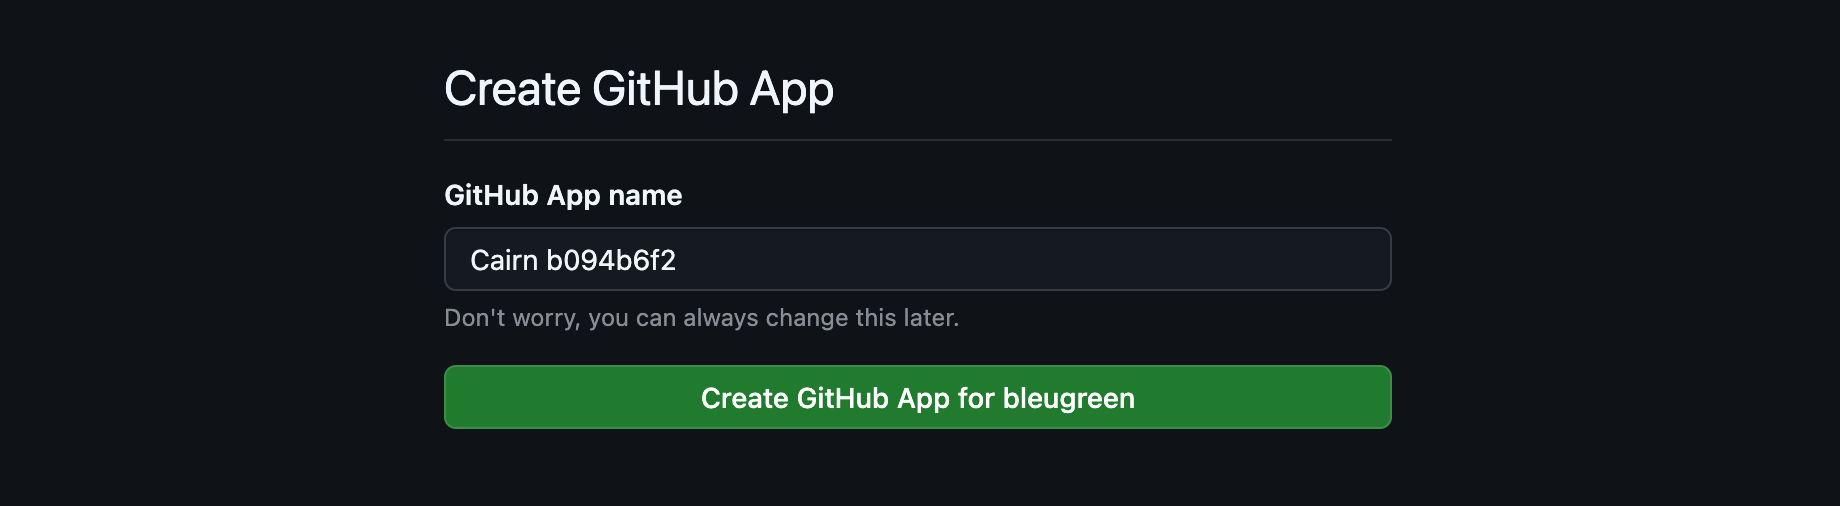
Review the settings and click Create GitHub App at the bottom of the page.
Install the App
After creating the app, GitHub will redirect you to the installation page.
Select which repositories you want Cairn to access:
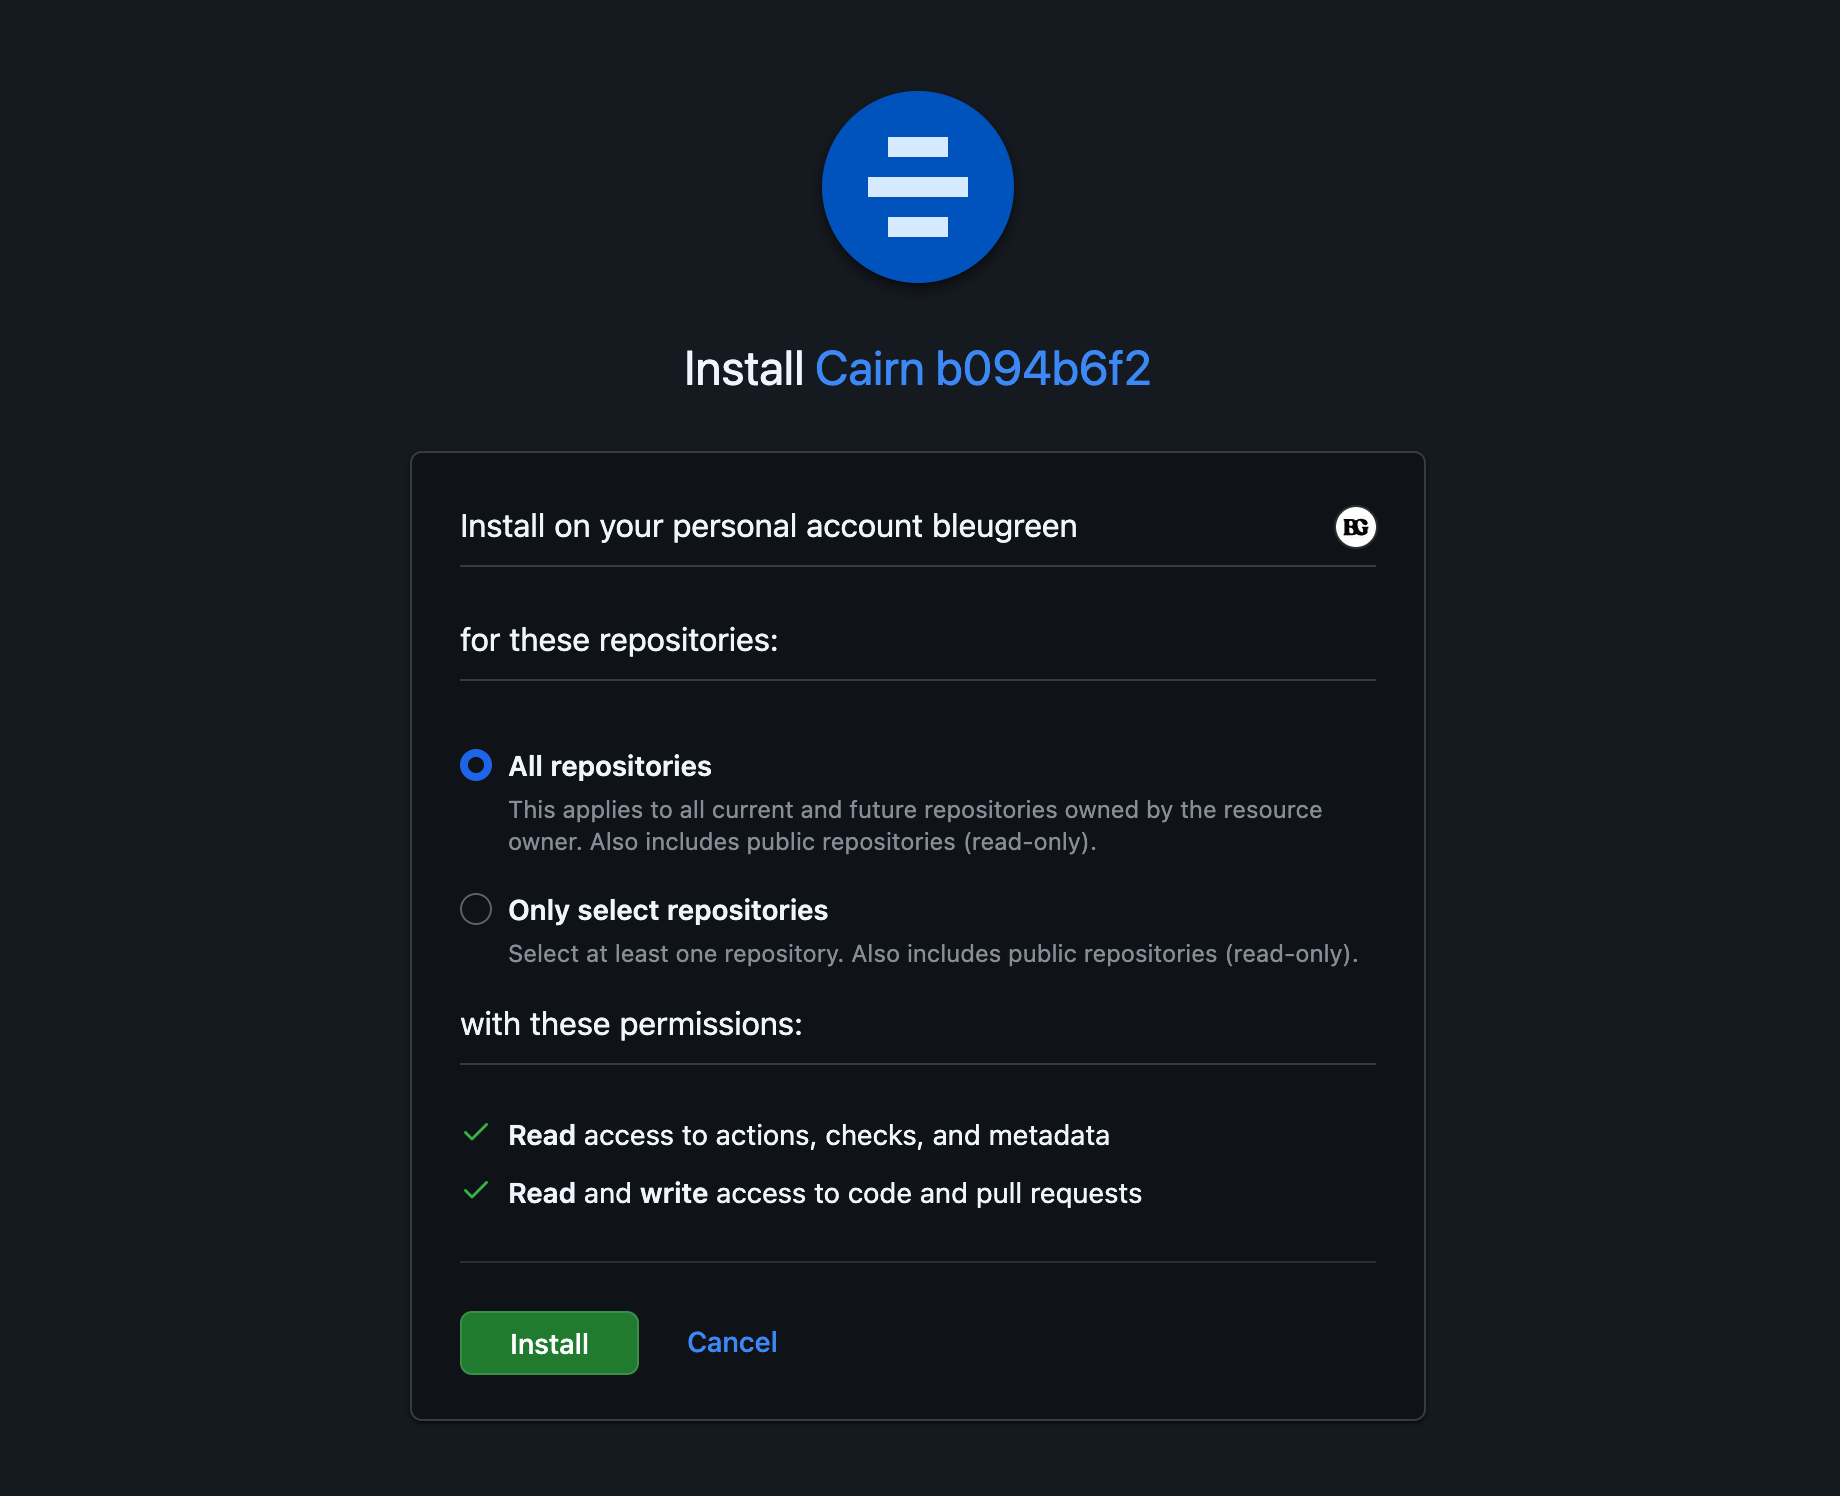
Click Install to complete the setup.
After installation, the GitHub page can be closed.
You can verify the connection in Settings > GitHub. The status should show "Connected" with events visible on the GitHub App events page.
Create Your First Project
Now you're ready to add a project! Click Add Project in the sidebar.
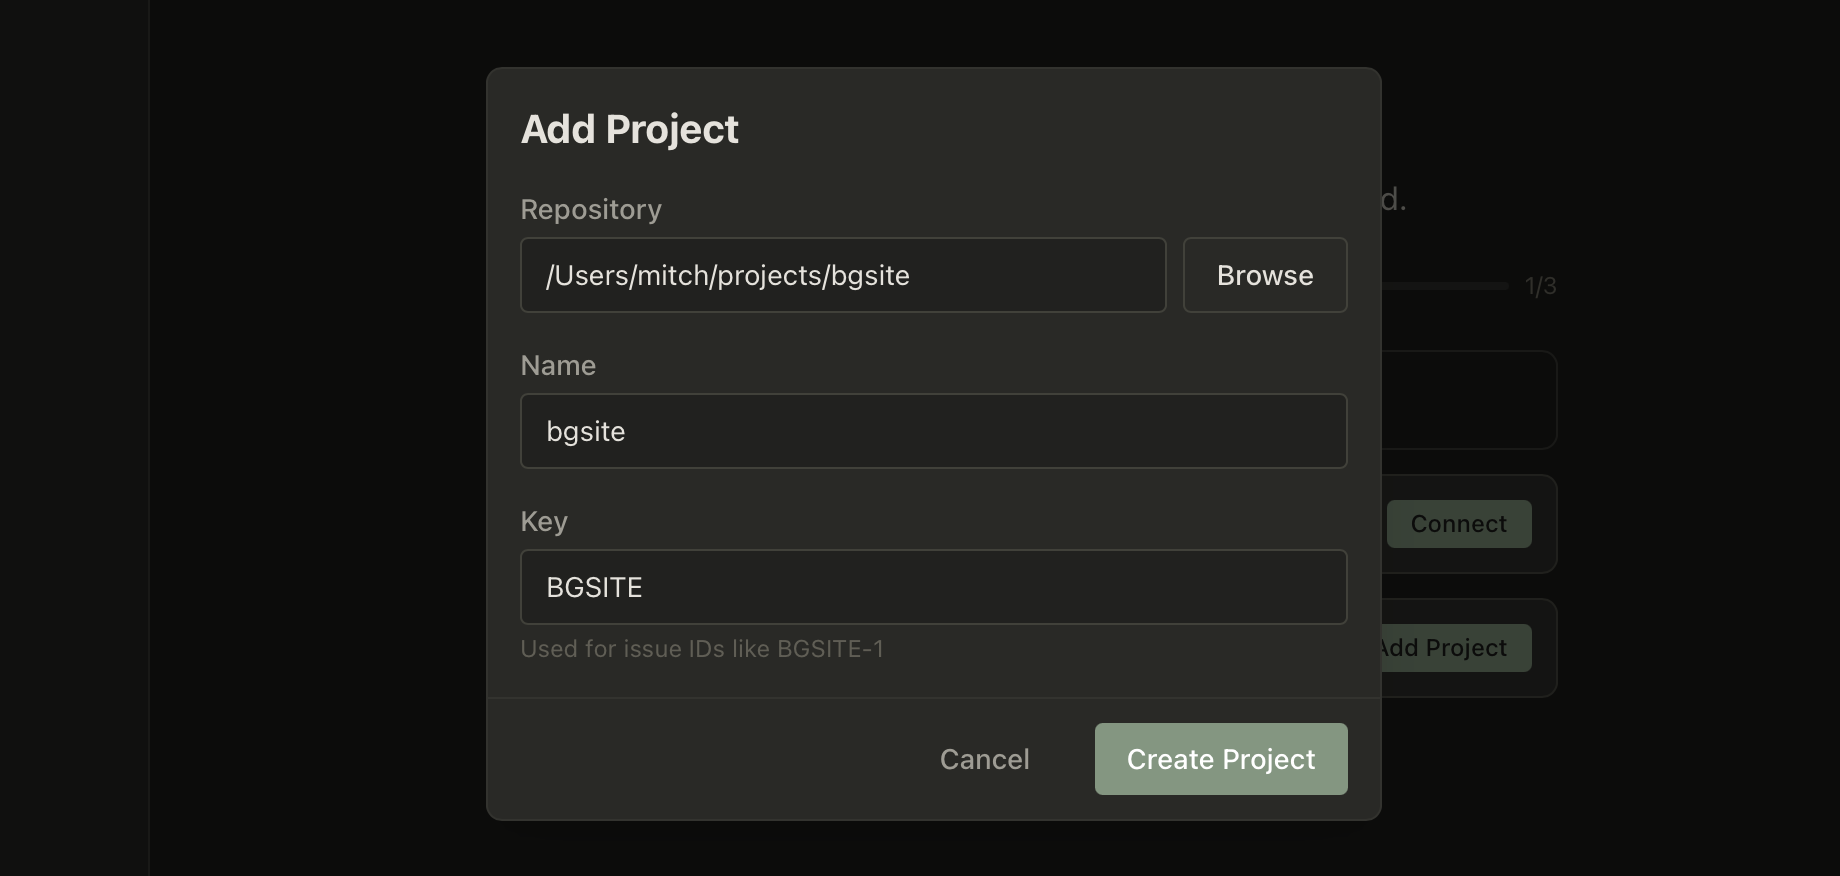
Enter:
- Project name - A friendly name for your project
- Project key - A short identifier prefix for issues (e.g. TEAM-123)
Click Create and your project will appear in the sidebar.
Create and Run Your First Issue
With a project selected, create your first issue by pressing c.

Fill in the issue details:
- Title - What needs to be done
- Description (optional) - Additional context or requirements
- Recipe - Choose a workflow recipe to run immediately, or select "Backlog" to save for later
- Model Override (optional) - Set the maximum model tier (Opus or Sonnet) allowed for agents in this issue
Click Create and the issue will start running immediately. You'll see:
- Plan - Claude analyzes your codebase and creates an implementation plan
- Build - If you approve the plan, the agent implements the changes in a dedicated git worktree
- Review - The agent creates a pull request for you to review
You can watch the progress in real-time as Claude works through the task.
Next Steps
Now that you're set up, explore more about how Cairn works:
- Working with Claude - How Cairn integrates with Claude Code CLI
- GitHub Events - How the GitHub App and relay server enable live GitHub access without exposing your machine
- Recipes - Build multi-step workflows by orchestrating agents, actions, and conditions into automated pipelines
Troubleshooting
Claude CLI not found:
- Make sure
claudeis in your PATH - Try running
claudein your terminal - See the Claude Code documentation for installation help
GitHub App connection failed:
- Sign in to GitHub first - Before clicking "Connect GitHub", make sure you're signed in to GitHub in your browser. If you see a 500 error or a URL containing
/settings/manifest, this usually means you're not signed in. Sign in to GitHub and try again. - Check that you completed all three steps (Create, Install, Configure)
- Verify credentials in Settings > GitHub
- Check the GitHub App events page for webhook delivery
Need more help? Open an issue on GitHub.